

Sometimes a knitting project just steals your heart.

Alex the Mouse uses 3 skeins of Coop Knits Socks Yeah! in contrasting colours. Image © Jesse Wild.
This is Alex the Mouse, the marvellous creation of Ella Austin for this month's A Year of Techniques project. Thank you Ella! I can't stop cuddling him! I've had to physically fight off family members who have tried to kidnap Alex as their own. In fact over the last few months that he's been staying here, Alex has had a constant stream of admirers! He hasn't got big-headed about it though, he's remained kind and polite - always saying please and thank you, and offering to help load the dishwasher. The perfect guest!

Image © Jesse Wild
Alex uses a number of nifty techniques, but this month's headline technique is the pinhole cast on. The pinhole cast on is a brilliant way to start projects in the round from a small number of stitches. It is sometimes also called Emily Ocker's cast on, or the circular cast on. You can see my tutorial video for this technique over on Mason-Dixon Knitting today, and of course the pattern instructions include a full photo tutorial for the method as well. It's a versatile technique that can also be used in toe-up socks, top-down hats and any number of toy limbs that you can imagine!
Alex is cast on at the nose, before his head is worked from front to back, with stitches set aside for creating the neck. His body is then worked down from the neck in a triangular Fair Isle pattern. Alex's legs also start with a pinhole cast on. The feet are shaped (the top foot is joined by grafting the stitches together), before the leg is worked upwards. His ears are each worked in 2 pieces - front and back, before being joined by an applied i-cord (which gives a super-neat finish!). Alex's arms are worked down from the top, and finally his tail is created as an i-cord. You then just stuff the pieces before sewing them together - but this isn't one of those crazy toy patterns in a million little pieces! It's just the obvious legs, arms, tail and ears that require sewing together, and Ella provides hints and tips on how to do that.
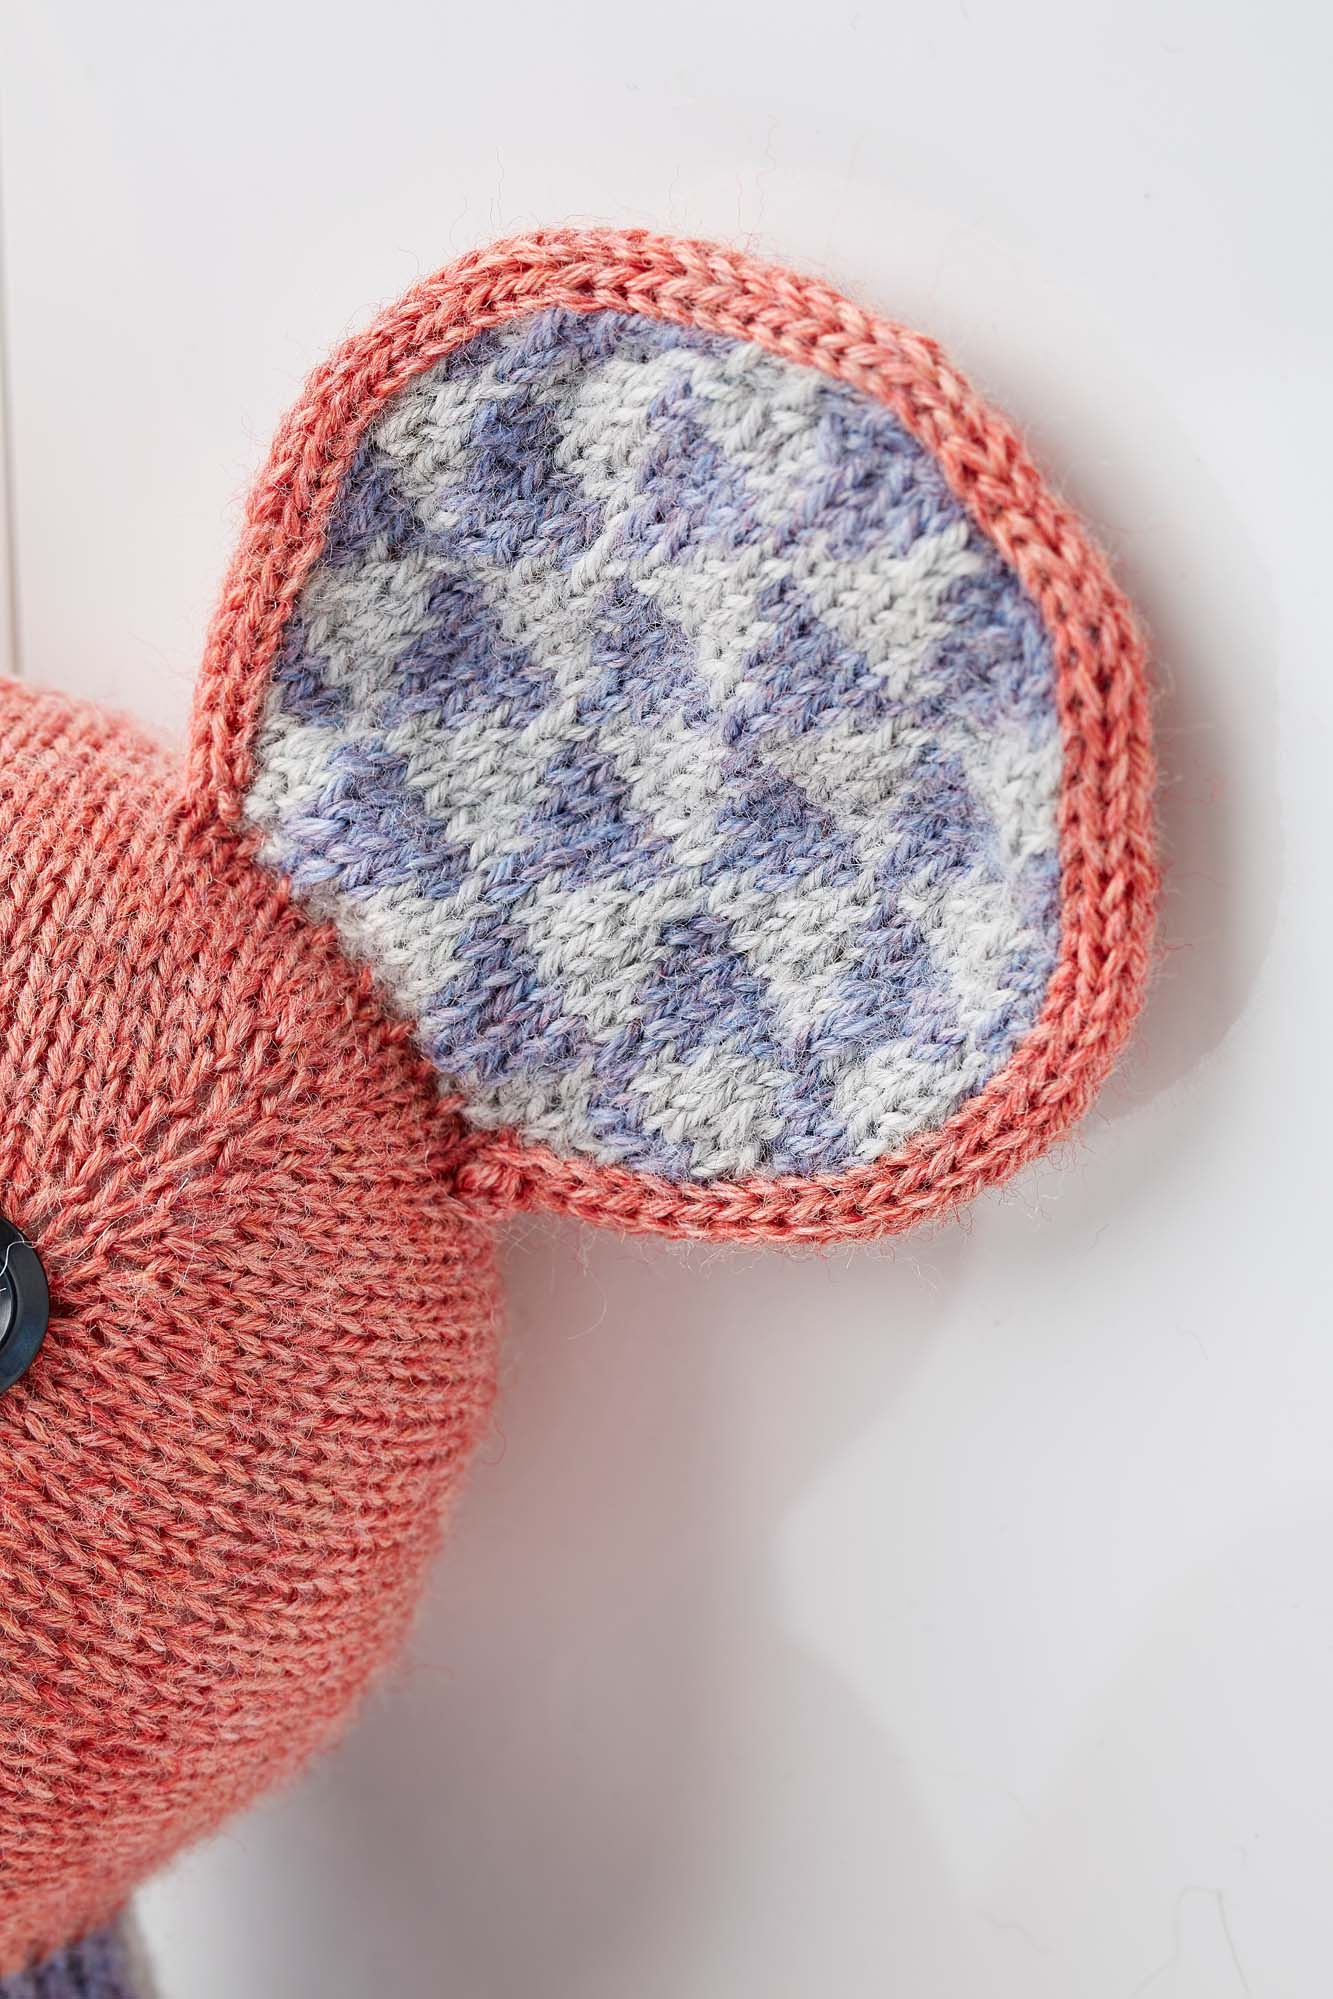
Alex's ear front and backs are knitted separately, before being joined by an applied i-cord. Image © Jesse Wild.
Oh my goodness, I just couldn't resist! I tried really hard to wait until the official cast on day, but temptation got the better of me, and I'm almost finished with his body. I've chosen a slightly different colourway - I might have had a *bit* of Socks Yeah! in my stash to play around with...

I'm using Chryso (108) and Topaz (113) for the colourwork, and Danburite (105) for his main colour, and a scrap of Iolite (109) for his nose. Image © Jen Arnall-Culliford.
I'm not sure that I'm going to manage to give him away once he's finished. He might have to be mine! One of the most important tips in this pattern is to work the Fair Isle body inside out. When you work Fair Isle over a small circumference, it can be really tricky to keep the floats loose enough on the inside - they have a tendency to "take a short cut" across corners, leaving the knitting puckered and too tight. If you flip your knitting inside out, the floats are forced around the outside and far less likely to be too tight.

Working small circumference Fair Isle inside out keeps the floats loose. Image © Jen Arnall-Culliford.
As the floats will be on the inside of the toy, there's no worry about catching fingers in them, so I gave up weaving them in (you can see where I did near the bottom). I think it looks absolutely fine with the yarn not in use stranded over 9 stitches, but if you'd rather, you can of course weave yours in every 4 or 5 stitches.
I'm really looking forward to casting on for legs and arms later. It makes the project go really quickly when it's broken into such manageable steps! I'm also really eager to see how the rest of you get on with Alex. Seeing everyone's colour combinations, yarn choices, and even just how you approach your knitting, is so inspiring and informative. Thank you all for joining in!
If you've not already signed up for A Year of Techniques, it's not too late! You can buy a print+ebook bundle for £19.99 plus shipping over in our online shop, or the ebook only is available for £19.99 either directly from Ravelry, or here on our website. When you buy a copy from our website, you also have the option to add A Year of Techniques to your Ravelry library - simply follow the buttons on the final checkout page. You will immediately receive all 3 of the projects that have been released so far, and the following patterns will be added monthly until September when the whole print and ebook is launched (you receive an update email when each pattern is added).
Many thanks to Ella for creating Alex. I am so totally and utterly smitten with him. I hope you will be too! (If you love Alex, do go and check out Ella's other heart-stoppingly cute animal designs.)