

We’ve been having a fab time over in this month’s Boost Your Knitting knitalong, which celebrates the tuck stitch! We realise though that, if you’ve never uploaded photos to Ravelry, you might be a little unsure how to add them to your project page and share your progress in the group. Since we’re all about learning new things, we’ve planned a few posts for the next few weeks taking you step-by-step through some of the finer points of Ravelry.
Once you’ve created your project page, adding project photos couldn’t be simpler. (And if you’re having any trouble making a project to start with, this post in the Ravelry knitalong thread has photos showing how). Here’s how adding photos works:
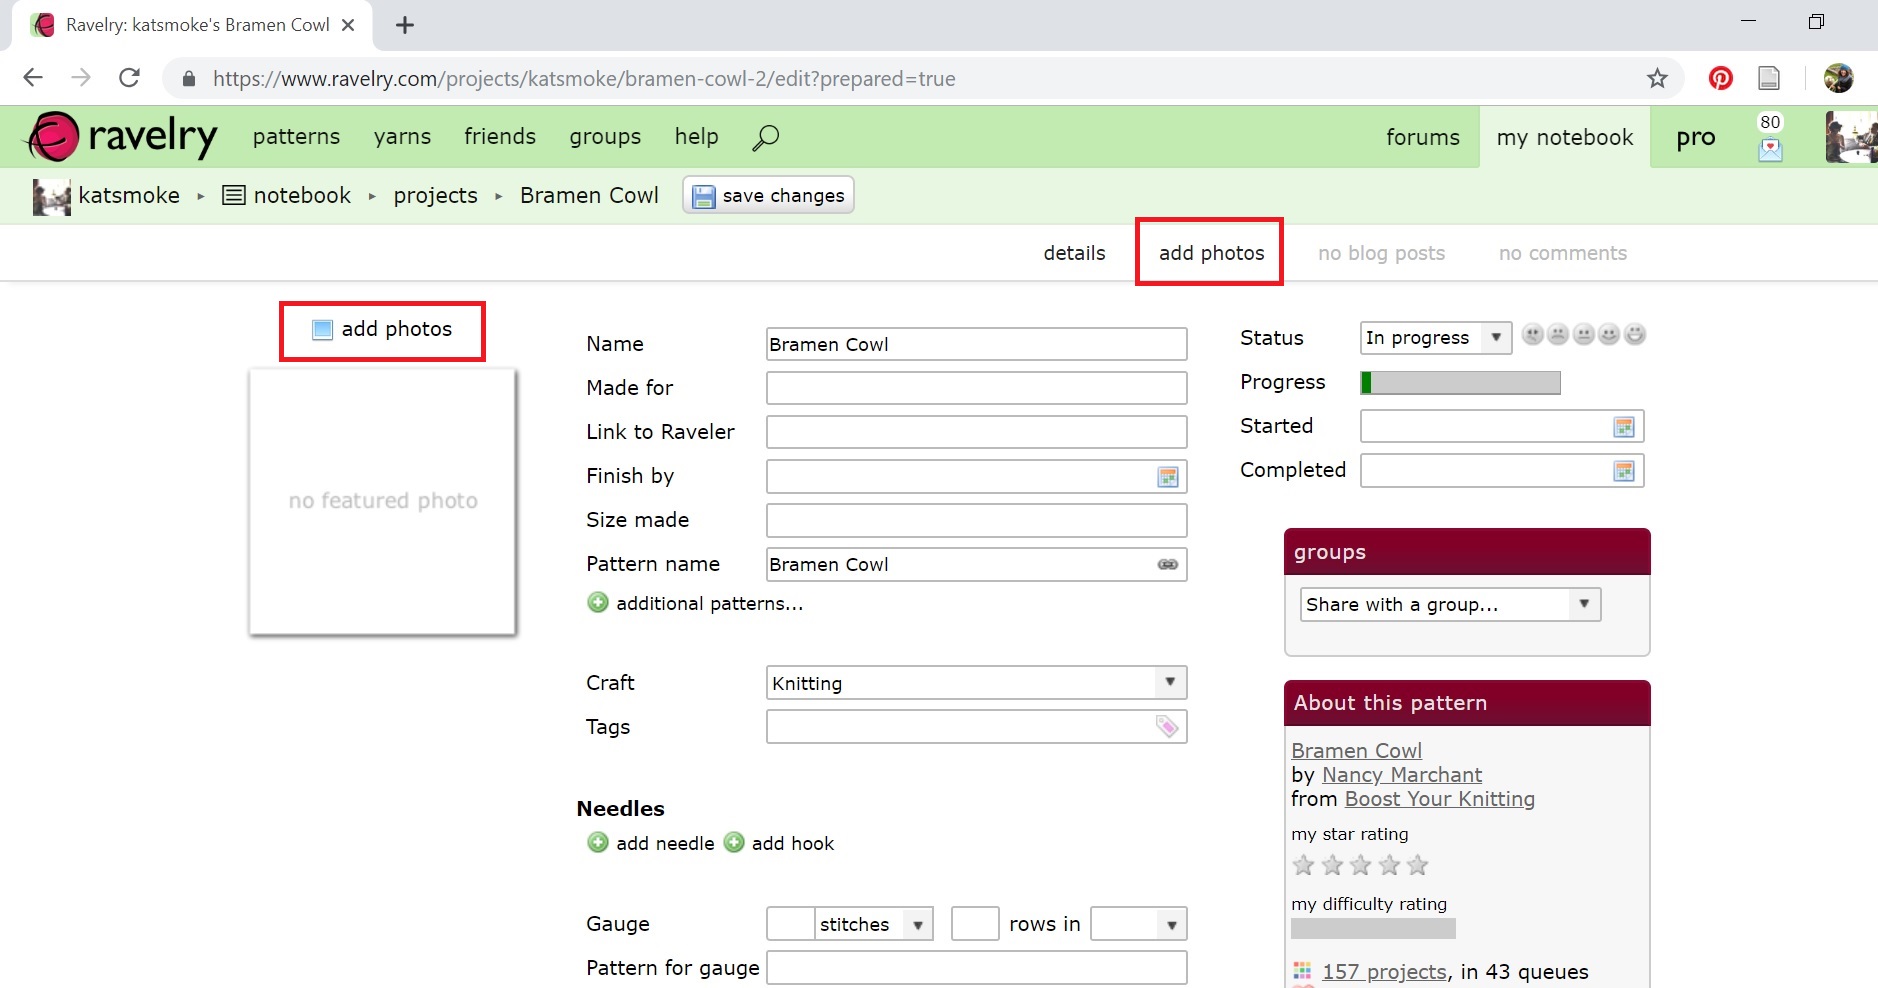
Here’s a project page for my Bramen Cowl. There are two places you can click to add photos, both of which are highlighted in red. It doesn’t matter which you choose — they’ll take you to the same place!

Once you’ve clicked “add photos”, a dialog box will open that has several options. The first is to upload images from your computer (if you’re on a PC — if you’re uploading from a phone, read on!). If you have a photo folder open on your computer, you can simply drag and drop your desired photo into the large white rectangle. Alternatively, you can click “choose files” (outlined in red, top left) …

Which will open a system dialog box. Navigate to where your photos are saved, select the photo you’d like, and click “open.”

Once you’ve selected your photo or dragged and dropped it, Ravelry will upload it. When you’re done, click “finished with photos.”

If, instead, you’re on a phone or tablet, you’ll have the option to add photos from your photo library.

Regardless of if you’re on a phone, tablet, or computer, if you have an Instagram account and have linked it to your Ravelry profile, you can also grab photos directly from Instagram for your project page. In the add photos dialog box, click on the “Instagram” tab (outlined in red), and select the photo(s) you’d like to use. Then click “finished with photos” or the green x in the right hand corner (also outlined in red). Ravelry also interfaces with Google & Flickr if you use those services for managing photos.
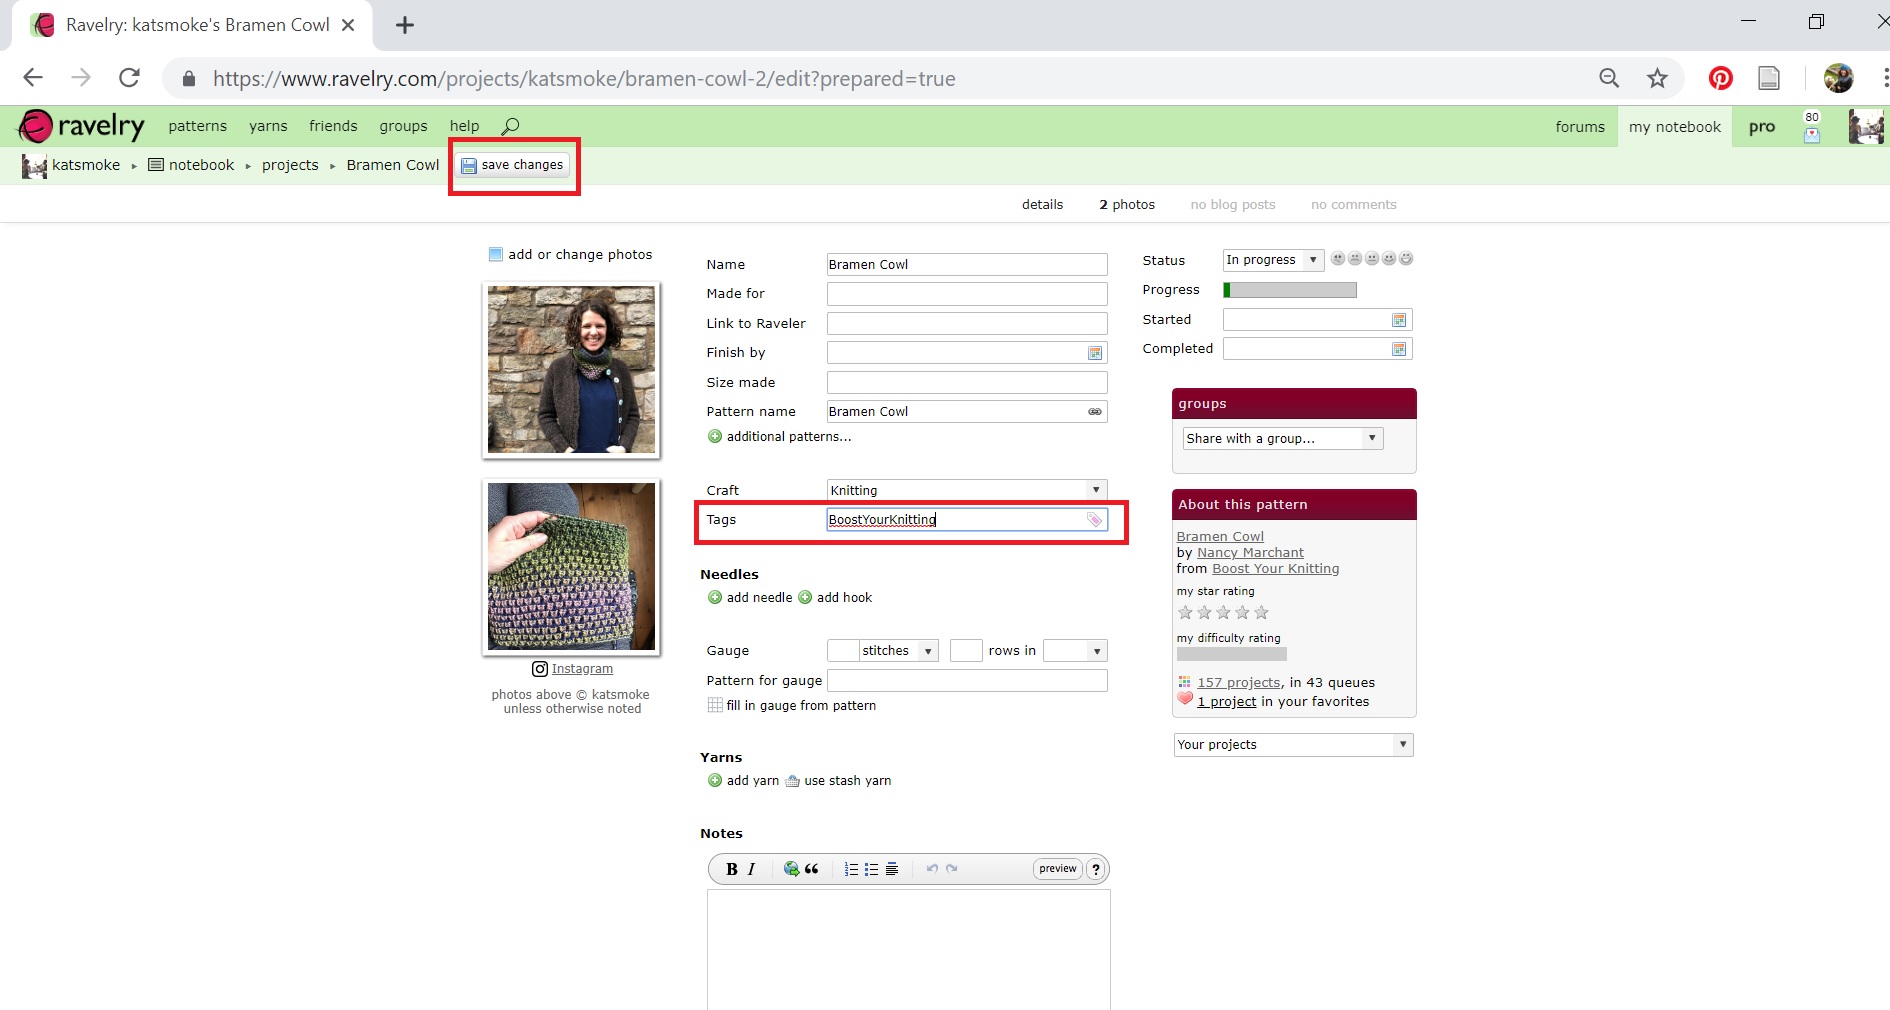
Once you’ve finished with your photos, you can also add plenty more information to your project, including the yarn and needles you used and any notes. I’ve highlighted the Tags field here, where you can add “BoostYourKnitting” (no spaces) to your BYK projects so that they show up in the communal project gallery! Make sure you hit save changes (highlighted in red at the top of the screen) to save your work!
I hope this short tutorial has been helpful! Next week, we’ll share how to quickly add your project photos to a Ravelry forum post. In the meantime, do let us know if there are any Ravelry features, especially related to making projects and participating in the knitalongs, that you’d like to learn more about, and we’ll do our best to answer your questions in future posts! And if you’re new to Ravelry, Jen has two fantastic posts that will orient you to many of its wonderful features: you can find them here and here.