

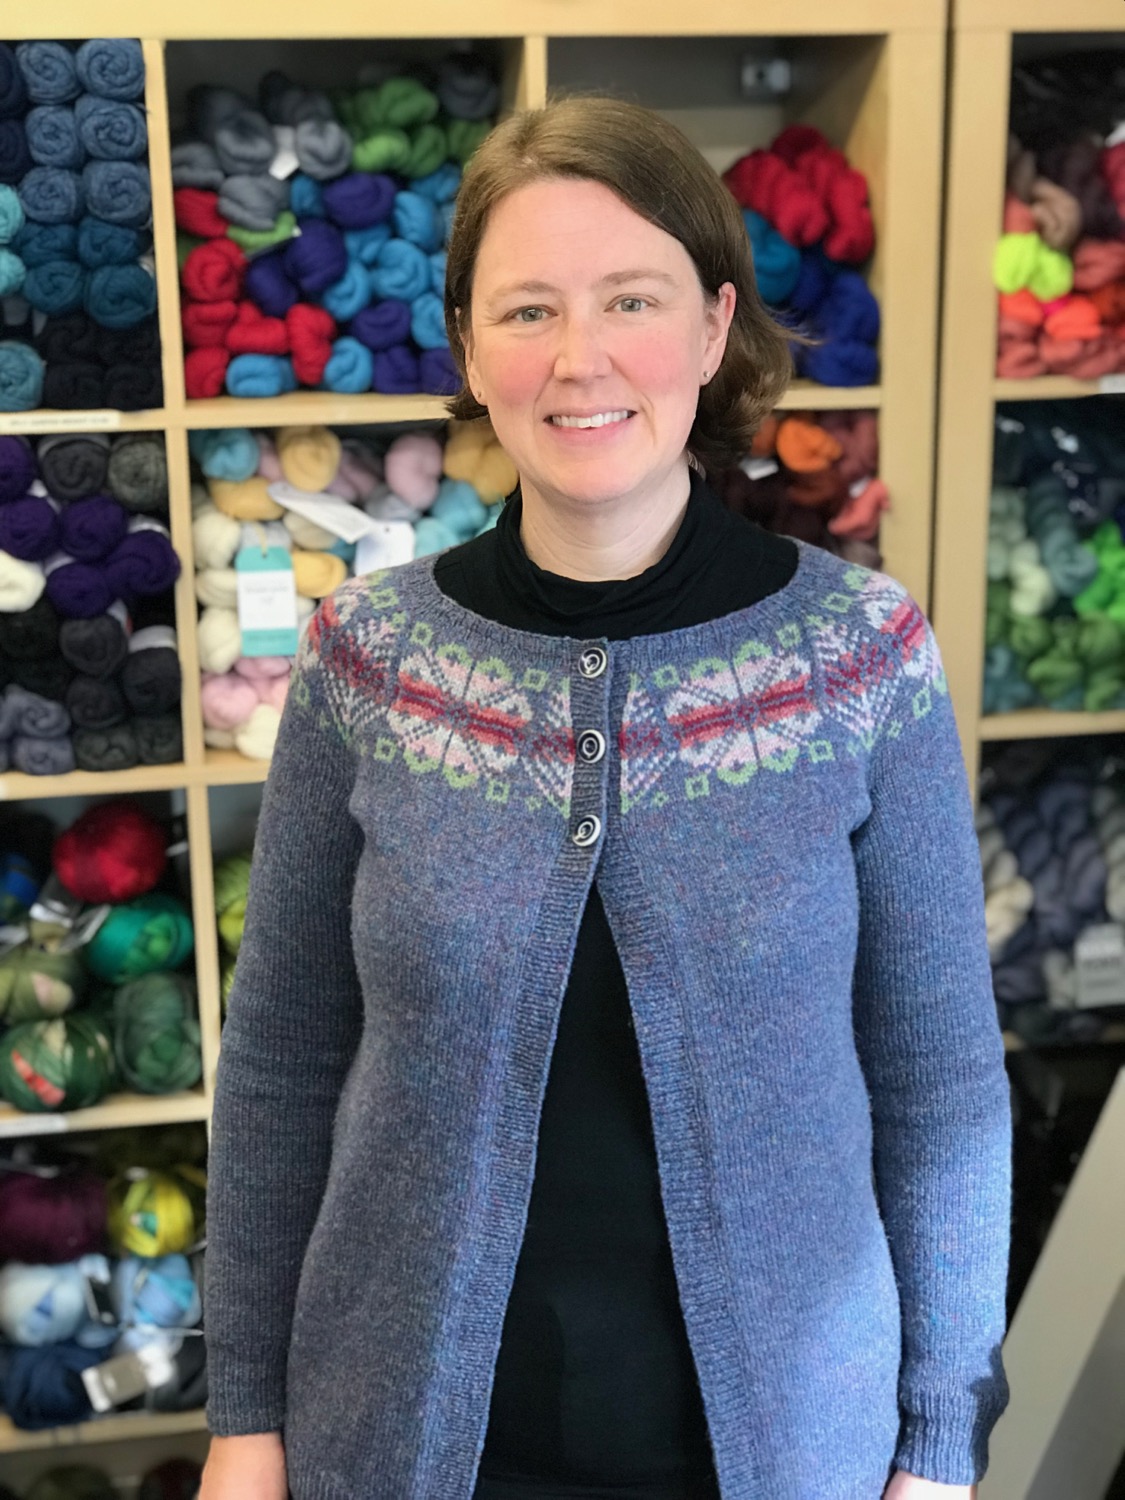
I can hardly believe it, but in just under 12 months I have knitted myself a 4ply cardigan!
I’m totally thrilled with how it turned out, and I’m already wearing it a great deal! I thought it would be helpful to talk through how I took Ella’s absolutely beautiful Ola Yoke sweater pattern and converted it to a cardigan, as it’s really not a difficult transformation to make. I should say of course that the sweater is fabulous, and doesn’t need modifying at all. I just know that I wear cardigans a lot more than sweaters, and wanted to get the most from this lovely knit.

I knitted the sleeves exactly as per the pattern. Given the choice I always knit the sleeves first, to avoid getting stuck on Sleeve Island, but also as they work well as a swatch. I then knitted the body with 9 extra stitches from the numbers for my size. This gave me 1 extra stitch to make the cardigan fronts symmetrical when I set up the colourwork, as well as 8 stitches for a steek.
I then knitted through the body working the 8 steek stitches in stocking stitch throughout. When it came time for joining the sleeves and body, ready to work the yoke, I made the start of the round in the middle of the centre front steek rather than at the back left shoulder. You need to reorganise the number of stitches in each section very slightly in order to account for your extra stitch. If your size has an odd number of sweater front stitches it’s easy, you add the extra stitch to the total sweater front stitches and then divide by 2 to get the number of stitches for each cardigan front. If your size has an even number of stitches in the sweater front, then divide it by 2 to work out how many stitches you need for each cardigan front, and then add the extra stitch to your BACK stitches. I would recommend counting around your body stitches and adding locking markers to show where the underarm stitches are, as well as the fronts, steek, and back stitches. It’s much easier to do that in advance and just check that you have the same number in each front etc before you start knitting round to join.
Once you’ve worked out how many stitches you require in each section, knit around to join, placing markers between the fronts, sleeves and back as in the sweater instructions. You can then work the decreases as written - just being aware that you’re starting at the centre front. The decreases are worked at the 4 points where sleeves meet body.

And then you reach the fun part. The bit I had been working towards all year! The colourwork yoke. Oh the joy of opening those precious balls of contrast colours!
Ella has designed the sweater to have the flower motif at the centre front, and for better or worse I decided that I’d rather have the tree motif cut in half at the centre, so that I could have a whole flower each side. I started (and ended) the chart on the 10th stitch, and since all sizes are written with a complete chart repeat, that will work for all sizes. If you would rather have the half flowers in the centre then you’d just need to start the chart on stitch 34. I worked the steek stitches as [background, foreground] twice, [foreground, background] twice throughout the colourwork section. I also changed colour in the centre of the steek so that I could just trim the ends later, with no weaving in required.

Do you weave in your floats is a question that comes up a lot when knitters discuss stranded colourwork, and as with lots of things in knitting, it’s a matter of personal preference. But for my 2p’s worth, particularly when using a fine yarn, and one that’s as sticky as Shetland wool is, I will strand a LONG way without weaving in my floats. Here I went for 11 and more stitches without catching the floats, and it doesn’t take long for the floats to stick to the fabric at all. But the best thing is that if you don’t weave in your floats you don’t get any “peek through” of the wrong colour. Everything looks more even too.

Once the main part of the knitting was complete I gave my project a good hard block on my jumper board. I love how it looks all stretched smooth and flat!
Once it was dry, I reinforced the steek using the instructions in A Year of Techniques, and shown in this video tutorial:
I found it really straightforward to cut the cardigan open, as there is a bit of space between the two lines of crochet, unlike other techniques I’ve used in the past. It worked really well for me.

Then all that remained was to pick up and knit some bands… I might have procrastinated this step for a while…
When I sat down to do it, it didn’t actually take long at all! I picked up between the background steek stitch and the first pattern stitch, and I picked up in every row. I then worked back on the first rib row and decreased 1 stitch in every 4. I find it gives a neater finish to pick up in every row and then decrease instead of picking up in 3 of 4 rows. But there are no rules about these things!
I worked the two bands in rib, and then sewed on snap fasteners at the yoke, along with some buttons from my button stash. I had wondered about adding more buttons, but I don’t feel like it needs more for me. I had also planned to add a ribbon facing over the steeks, but so far I haven’t done it. The crochet edge to the steek looks really smart and there isn’t a good reason to add more bulk to what is a really neat edge.
So that’s it! I’m wearing my new cardigan a lot and it always gets compliments. Thank you to Ella for such a beautiful design, and also to Sandra from J&S who also helped with choosing colours when I visited J&S during Shetland Wool Week last year. I’m so happy to have completed this project. I really enjoyed working on it between all my work knitting, and I would definitely knit this design again. I should also point out that it’s taken me a while to complete this project because I’ve had so much work knitting to do over the last year. With the end of A Year of Techniques and three more books done since then, it’s something of a miracle that I finished anything! Most people would finish a cardigan or sweater like this much more quickly.
If you’d like your own Ola Yoke (as a cardigan or sweater), then you can buy the pattern from Ella over on Ravelry. It’s showing up as £5.04 for me in the UK, but prices may be different elsewhere (due to VAT): Ola Yoke
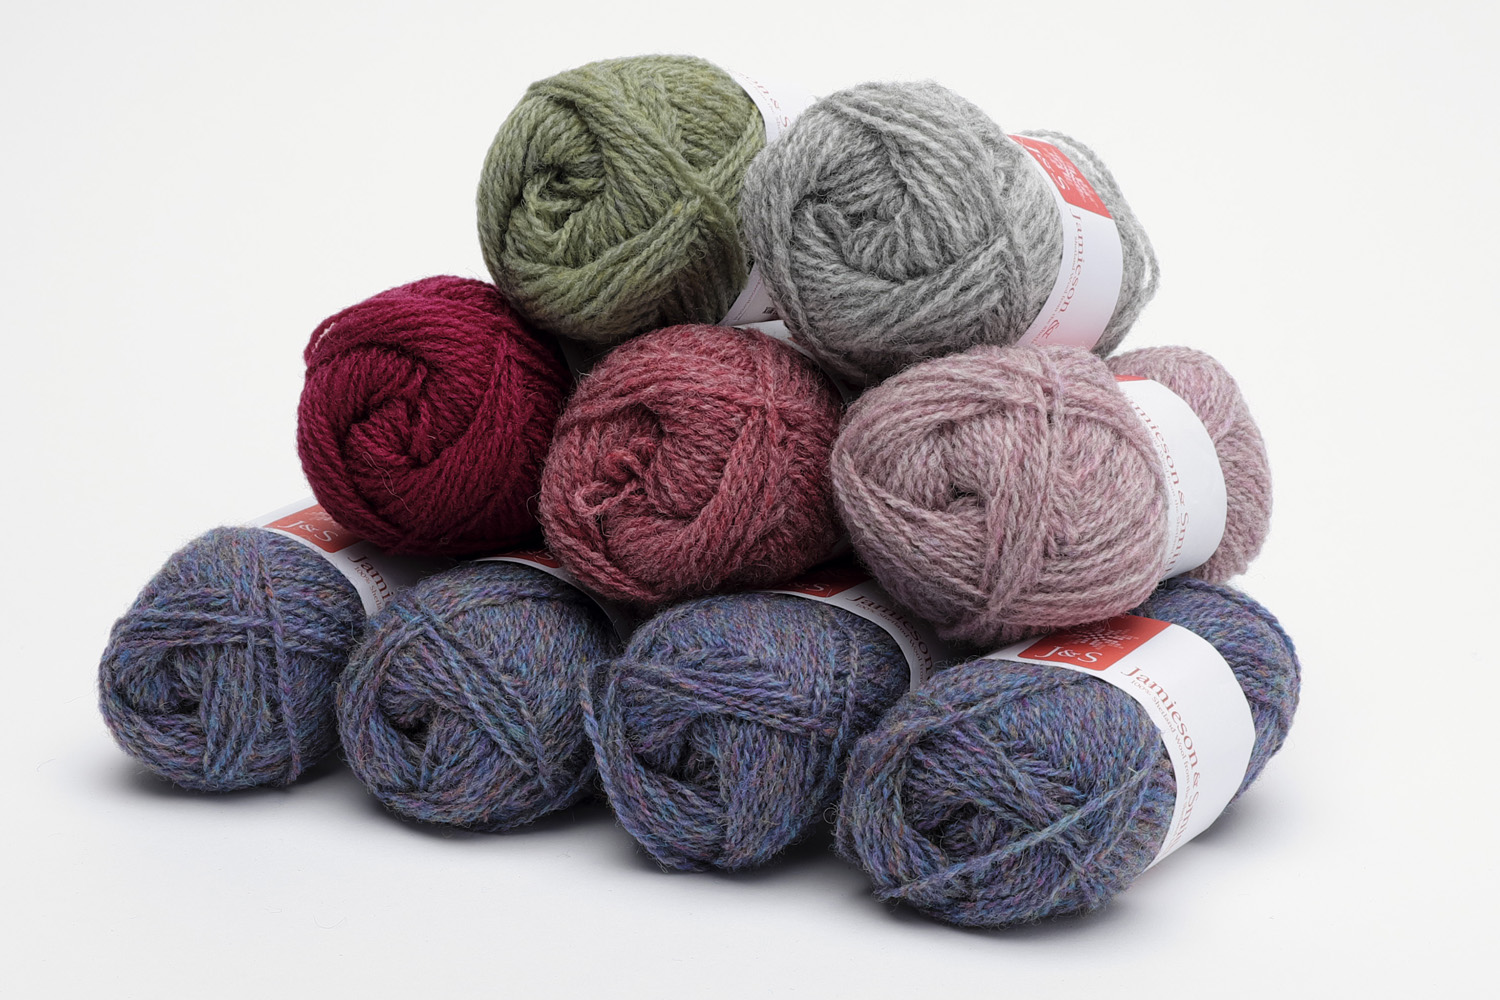
We have just added a number of new shades of J&S Jumper weight to our online shop, and above are the colours I used for my yoke (Yarn A shade 366 mix; Yarn B FC24; Yarn C FC50; Yarn D 203; Yarn E 72 mix; and Yarn F FC43).
The sizes in the pattern give a finished bust of 32 (34, 36, 38, 40, 42, 44, 46, 48)". If you cardiganise your sweater your button bands will add about an inch to those measurements, and you may need an extra ball of the main colour (yarn A) to add the bands. Each of the contrasts uses just 1 x 25g ball in all sizes, and the main colour yarn quantities are as follows (for the sweater – an extra ball may be required to make the cardigan): Yarn A x 10 (11, 11, 12, 12, 13, 14, 14, 15) balls. The complete yarn for a cardiganised Ola Yoke costs between £45.60 and £59.85 depending on your size.
If you do cardiganise an Ola Yoke, please do share it in our Ravelry group, in the What Are You Knitting? thread. We’d love to see your project!